Planting and caring for trees and shrubs is one of the most rewarding ways to enhance your landscape, improve air quality, and support local wildlife.
Knowing how to properly plant and maintain these green investments is essential for their long-term health and beauty. In this guide, we’ll walk you through the key steps for the successful establishment of your plants!
1. Dig the Hole
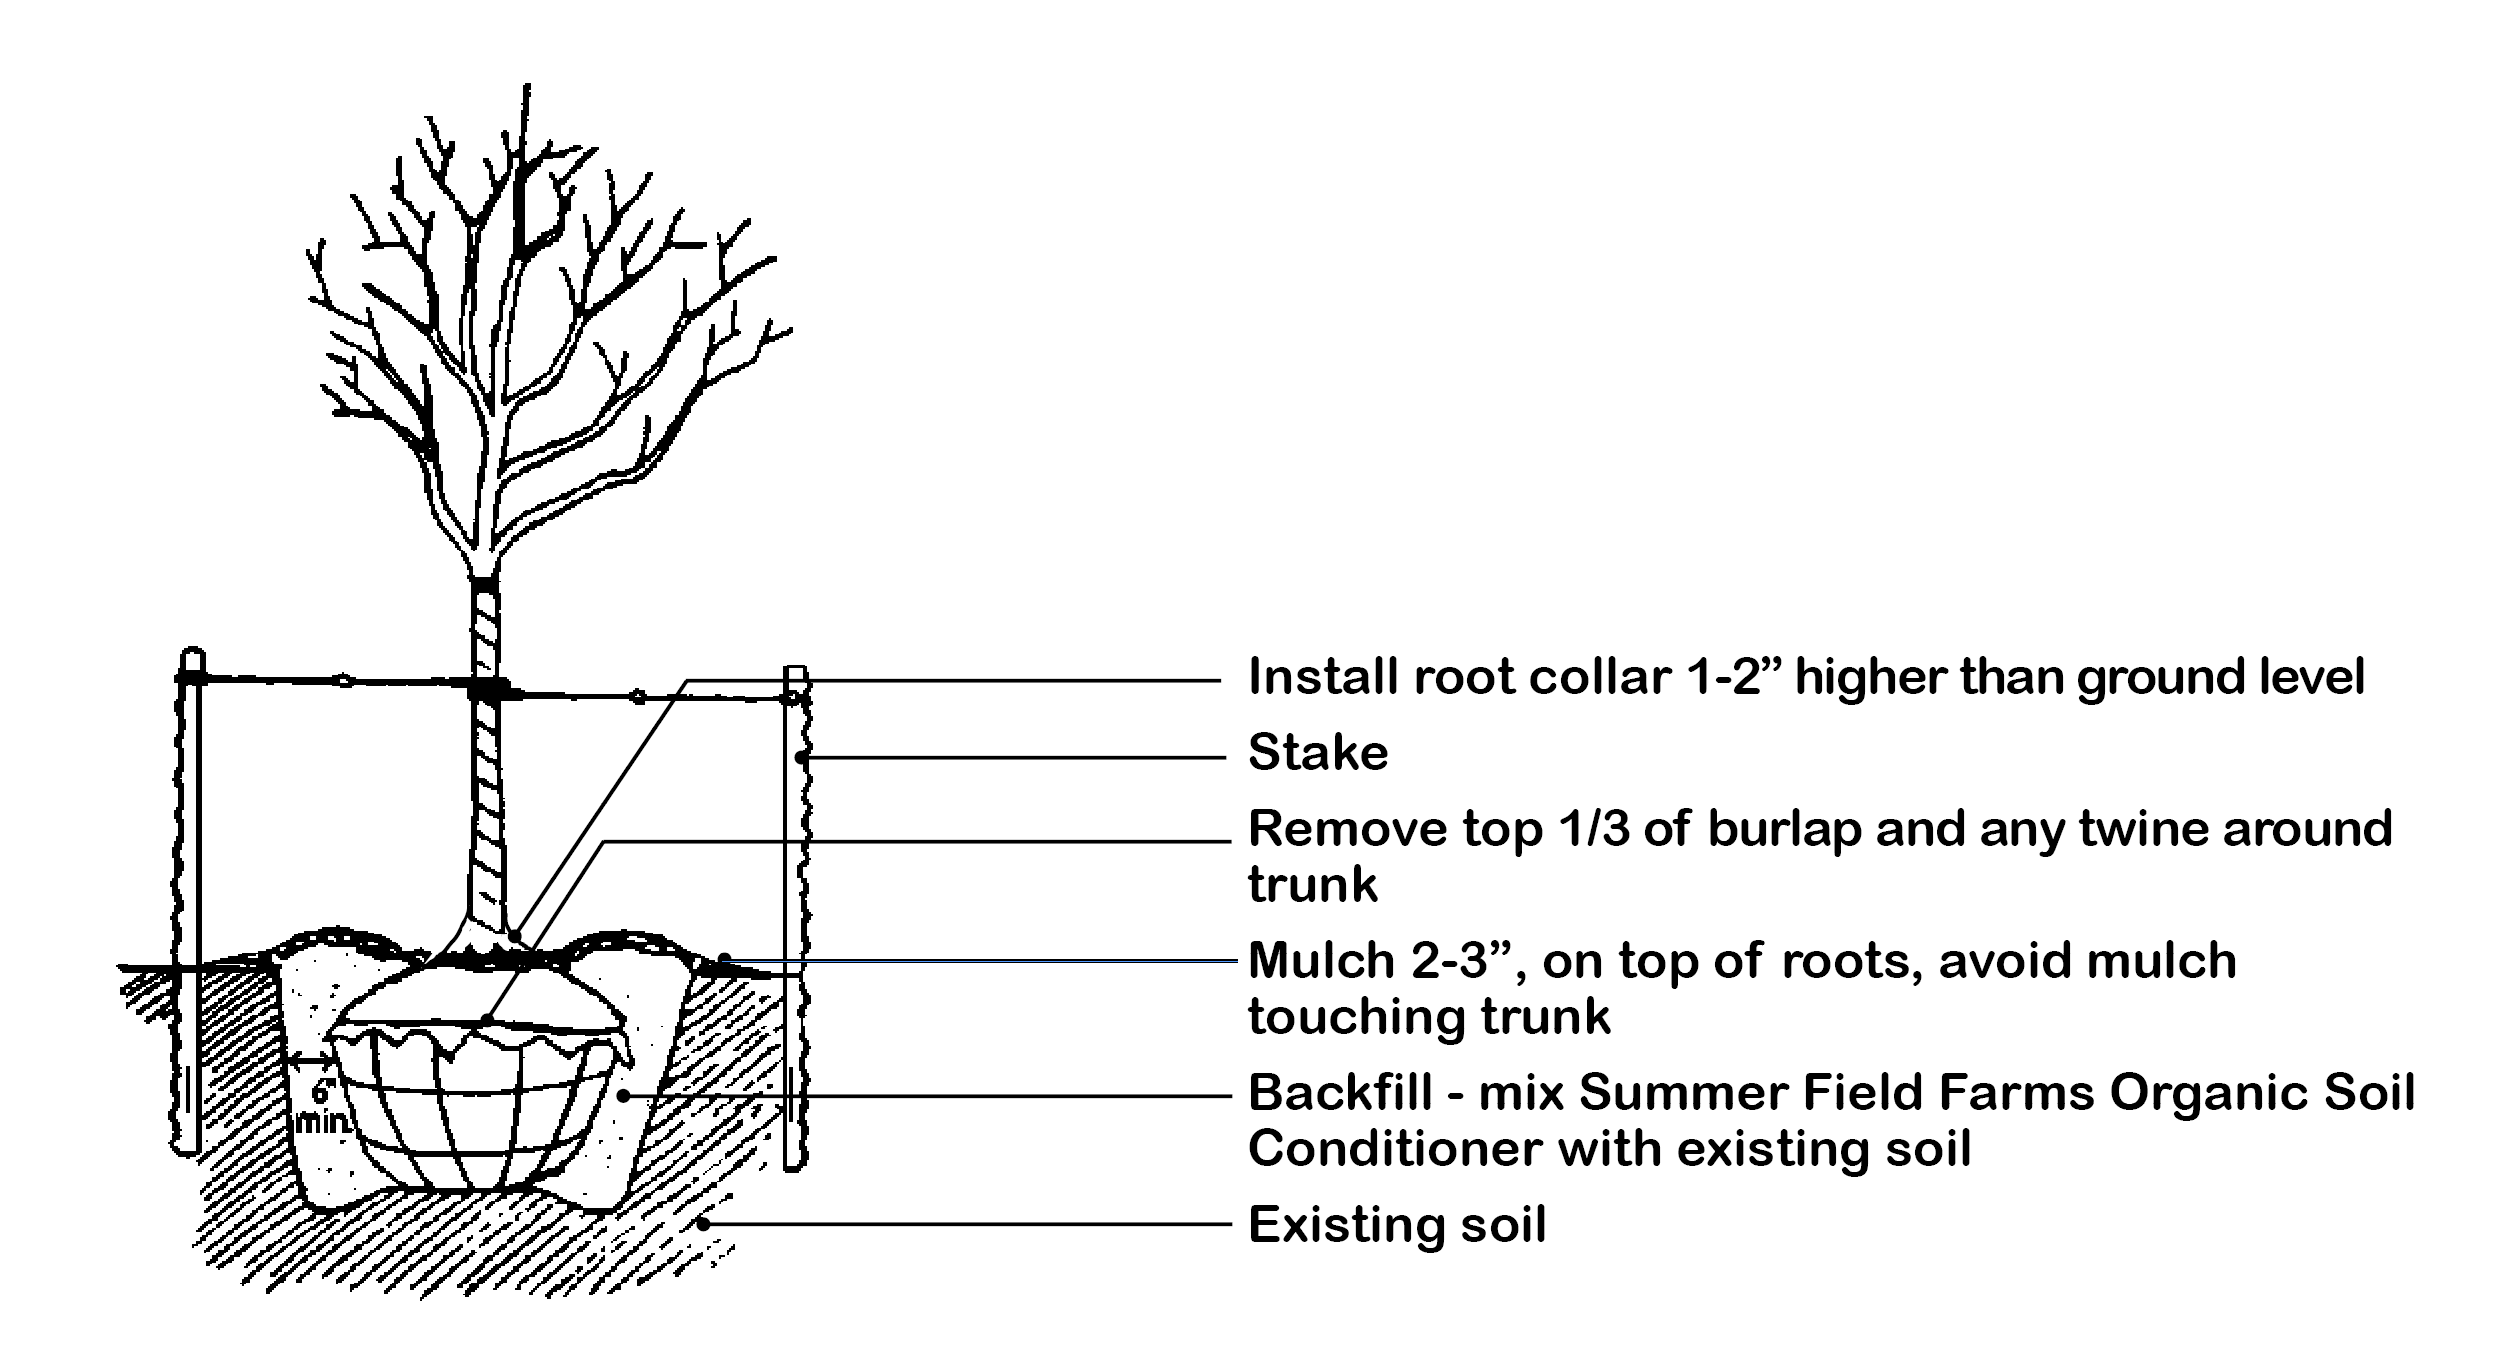
Dig the planting hole so that it is wider than, but the same depth as the root ball. For planting depth, the top of the root ball should be just slightly above the existing grade. Score the sides of the hole to encourage root growth.
Cut any string or rope that might be around the trunk area. Fold back or cut off the excess burlap on top of the ball.
Follow the same procedure when planting container grown plants that come in plastic or pressed paper containers. When lifting the ball of earth from the container you should get your hands under the ball. Do not lift by grasping the trunk. If roots are encircling, pull or cut them apart to avoid possible future root girdling.
2. Backfilling

The soil you use to backfill around your tree is very important. This is what the first tender roots of your tree will touch when they emerge from the burlap wrapping. If you have good soil, mix 2/3 existing soil with 1/3 Summer Field Farms Organic Soil Conditioner to backfill the planting hole.
If you have poor clay soil, use 1/2 Summer Field Farms Soil Conditioner with half the original soil to backfill the hole. (The Conditioner increases porosity and helps keep the clay from holding too much moisture) Haul away the excess clay.
The use of starter solution (Ferti-lome Root Stimulator) aids in early root development and reduces the shock of transplanting. Use this starter solution according to directions on the label twice a month for the first two or three months after planting.
3. Water
The plant must be thoroughly watered at this time. Begin the watering after you have backfilled the hole to 3/4 full. Turn on the water gently and flood the planting, moving the hose from place to place to be sure the entire planting is soaked. The object is to remove all air pockets. Complete the backfilling and water again.
Do not water so forcefully that soil is washed out from around the ball. Watering may settle the soil so that you need to add more soil. Use some excess soil to build a small berm around the hole, and then complete the watering. The berm will aid in future watering and prevent run-off. Haul away excess soil.
To determine whether or not your plant needs water, push your fingers several inches into the backfilled area around the root ball. If the soil feels muddy, do not water. Check the soil every week or ten days for trees and shrubs with large root balls. Container-grown shrubs and trees are planted in a special planting medium which dries out more quickly. Check container-grown plants for moisture every two to six days, depending on weather conditions. Smaller shrubs will dry out more quickly than larger ones.
Continue a regular watering schedule during the first spring, summer and fall when dry conditions persist, even if it is frozen! Water during January and February every 3-4 weeks – especially evergreens that are exposed to drying winds. Watering during the second year can still be critical, so maintain a regular schedule during this time.
4. Stake
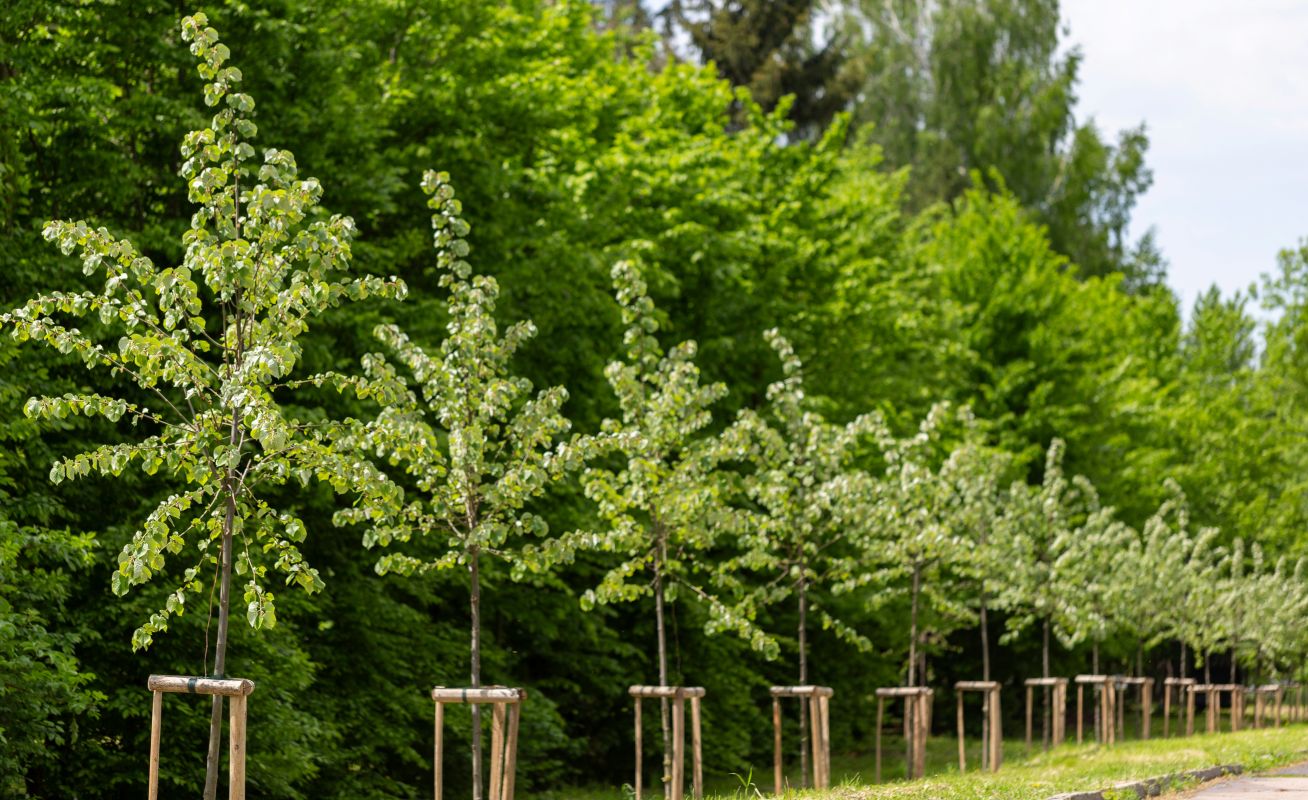
Trees are staked to keep wind and settling effects from making them lean to one side and to prevent the roots from breaking away from the trunk, thereby damaging or killing the tree.
You may purchase tree staking kits which include the best materials for properly staking your trees and preventing this damage from occurring. You should use 2 tree stake kits for up to 2” caliper trees and use 3 tree stake kits for up to 3” caliper trees. Check the wire supports periodically, adjusting as needed.
5. Mulch
Newly planted trees benefit from mulching, especially during the first years of establishment. Besides preserving moisture and stabilizing soil temperature, mulching controls competing weed growth.
Mulching acts as a barrier to keep lawn mowers and string trimmers away from the tree trunk, a leading cause of damage to landscape trees.
Mulch should be 2 to 3 inches deep & spread evenly around the tree. Do not mulch around the trunk. This can lead to rot, fungal growth, and improper root formations. Ensure the mulch is a few inches away from the trunk leaving some of the flare root exposed.
6. Insect Control
Newly planted trees are susceptible to borers and other insects.
1. Treat with systemic insecticide. Drench in early spring to control borers (and other insects).
2. Treat trunks, from ground to low branches, 4 times at 17 day intervals with a labeled borer spray.
Follow insecticide label instructions. Insect problems can vary considerably among the various tree species. Periodically scout for signs of insects.
7. Wrap
We recommend that the trunks of shade trees, especially maples, be wrapped during the first 2-3 winters. This procedure will assist in the prevention of sunscald.
Use a paper or plastic tree wrap and start wrapping at ground level overlapping half way on each turn. Wrap up to the first major branch and secure the wrap with plastic tape. Remove the wrap in late spring.


